
This site is written from a family-caregiver perspective. The operator is not a medical professional or an insurance, legal or financial adviser. Use this guide to organize questions for the relevant service.
Sent is different from ready for the visit
Use this follow-up record alongside the guide below. It does not determine medical suitability, insurance eligibility or legal rights, and it does not guarantee a price.
- Keep together
- Full study and report details, receiving office, approved transfer route and confirmation reference.
- Unanswered question
- Has the correct complete study been received and can the clinician access it before the visit?
- Next contact and owner
- Ask the receiving office who checks access and how to resolve a failed transfer securely.
- Recheck when
- Appointment, receiving service, study or access instructions change.
For each response, record its date, source, reference number and what remains uncertain. Agree the next follow-up date instead of treating silence as confirmation. Use official contact channels and keep identifying health, account and policy information out of public comments.
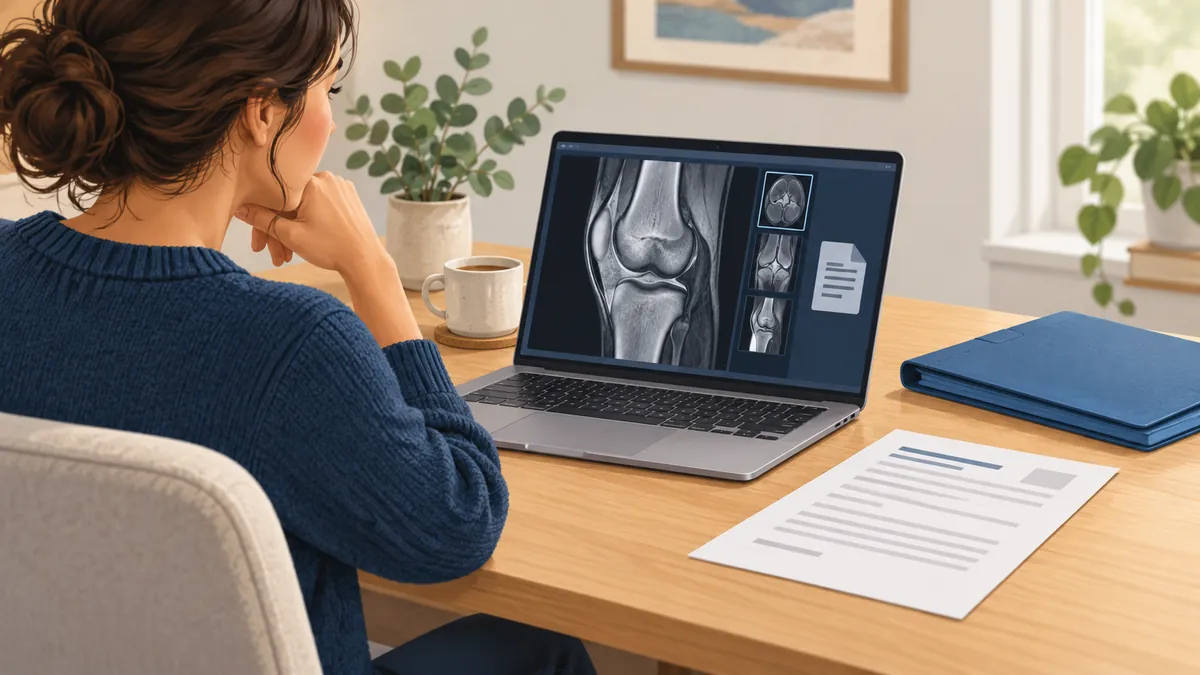
Sending MRI images for a second opinion takes more than forwarding the report. Before an orthopedic appointment, ask the receiving office how it wants the actual scan, send the matching written interpretation, and confirm that both are available to the clinician. A successful upload message is only the start of that check.
This seven-point checklist is for U.S. patients transferring an existing knee, hip, shoulder, or spine MRI. It helps organize records; it does not interpret a scan or decide whether another MRI is necessary. Ask your treating clinician whether waiting for another opinion is safe, and do not delay urgent care while collecting files.
Table of Contents
1. Confirm where the MRI images should go
Start with the receiving orthopedic office, before requesting a disc or paying for delivery. Ask which department handles outside imaging, whether it accepts a direct facility transfer or patient upload, and how early it needs the files. The appointment portal and the imaging system may have different intake steps.
Use this question: “I have an MRI from another facility. What is your approved way to receive the full study and report, and who confirms they are ready for my visit?” Record the contact name, the requested deadline, and any instructions for identifying your appointment. Obtain the upload link from the office or its official website.
2. Request the images and the written report
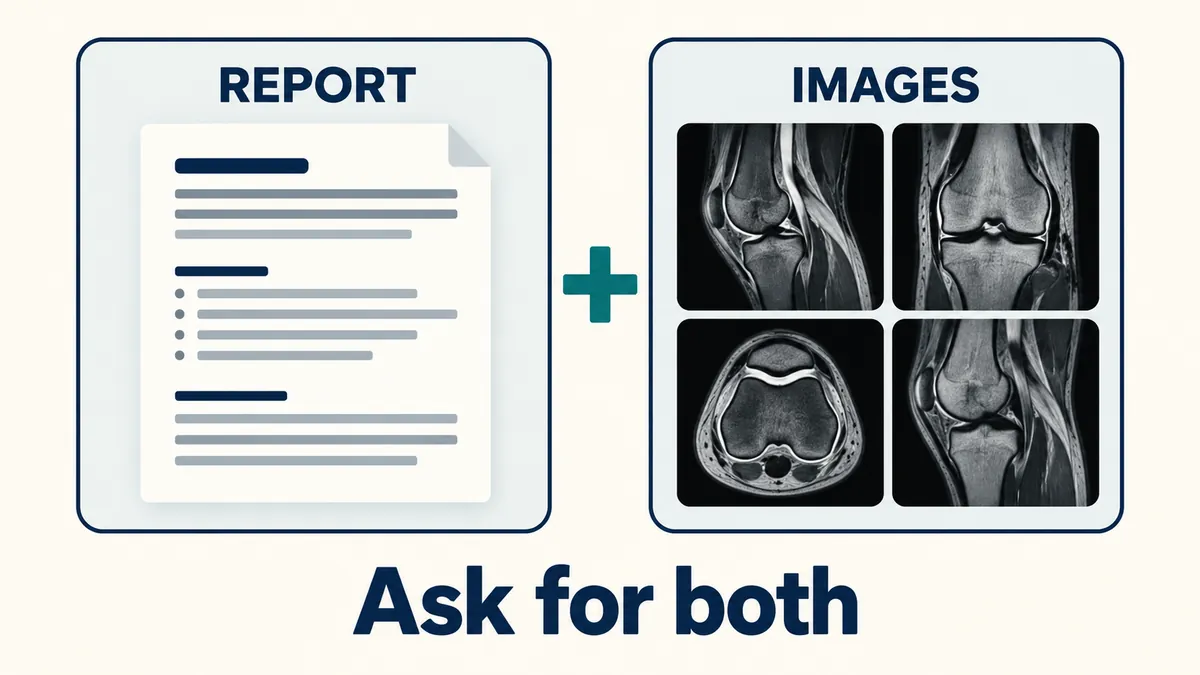
An MRI report is the radiologist’s written interpretation. The image study is what the specialist needs to view the scan itself. Ask the imaging facility for both the complete study and its final report, including any available report addendum. Ask the receiving team which file format it accepts; if it requests DICOM, repeat that term to the imaging records staff.
Do not assume a PDF report, a few portal screenshots, or a photograph of a scan supplies the complete study. Ask staff to confirm the export is intended for another clinician to review. You do not need to select individual scan sequences yourself.
RadiologyInfo’s guide to obtaining and sharing images, reviewed by radiology professional societies, explains that images are usually held by the facility that performed the exam and may be shared electronically or on physical media. Available methods differ by facility.
3. Match the patient, body area, side, and date
Before sending anything, compare the identifying information on the report and image package. Check your name and date of birth privately, then verify the exam date, body area, and side where applicable. A right-knee MRI from last year may not be the left-knee study requested for this visit.
If details are wrong or an exam is missing, contact the source facility. Do not relabel clinical files yourself to make them appear correct. Ask the receiving clinician which older studies would be useful. Earlier imaging can provide comparison information, but you should not have to guess which examinations matter.
RadiologyInfo’s explanation of a radiology report describes the comparison section and why prior examinations from another facility may help the radiologist. Keep each exam’s original date visible in your own checklist.
4. Check access, timing, and copy charges
If portal access does not provide the needed files, contact radiology image records or the medical records office. Ask whether a request form or identity verification is needed, when the copy will be ready, and whether there is a charge. State your appointment date without assuming that it creates a same-day processing entitlement.
For a patient’s own access request to a U.S. HIPAA-covered entity, HHS says the entity must act no later than 30 calendar days after receipt. One extension of up to 30 more calendar days is permitted if the required written explanation and completion date are provided within the initial period. This is an outer limit, not a recommended time to wait before asking for help with an upcoming visit.
HHS’s patient medical-records guidance says reasonable copying and mailing costs may apply, while search or retrieval fees are not allowed for your own access request. Unpaid care bills alone cannot justify withholding that copy. State law may provide additional rights. These patient-access rules should not be treated as a universal price rule for every third-party records request or a separate medical interpretation service.
5. Keep file transfer separate from a paid reread
Ask whether the office is simply importing outside MRI images for the orthopedic clinician or ordering a separate radiologist interpretation. Those are different services. Request an explanation of any proposed review fee, who will bill it, and whether the office requires an order. Check applicable referral, network, and coverage requirements with your plan before agreeing to a paid service.
As one concrete example, Johns Hopkins’ outside-image policy distinguishes storing studies from requesting a second-opinion interpretation and says an interpretation fee may be charged. That is the institution’s policy, not a nationwide fee schedule or a coverage guarantee.
6. Confirm the receiving team can open the MRI images
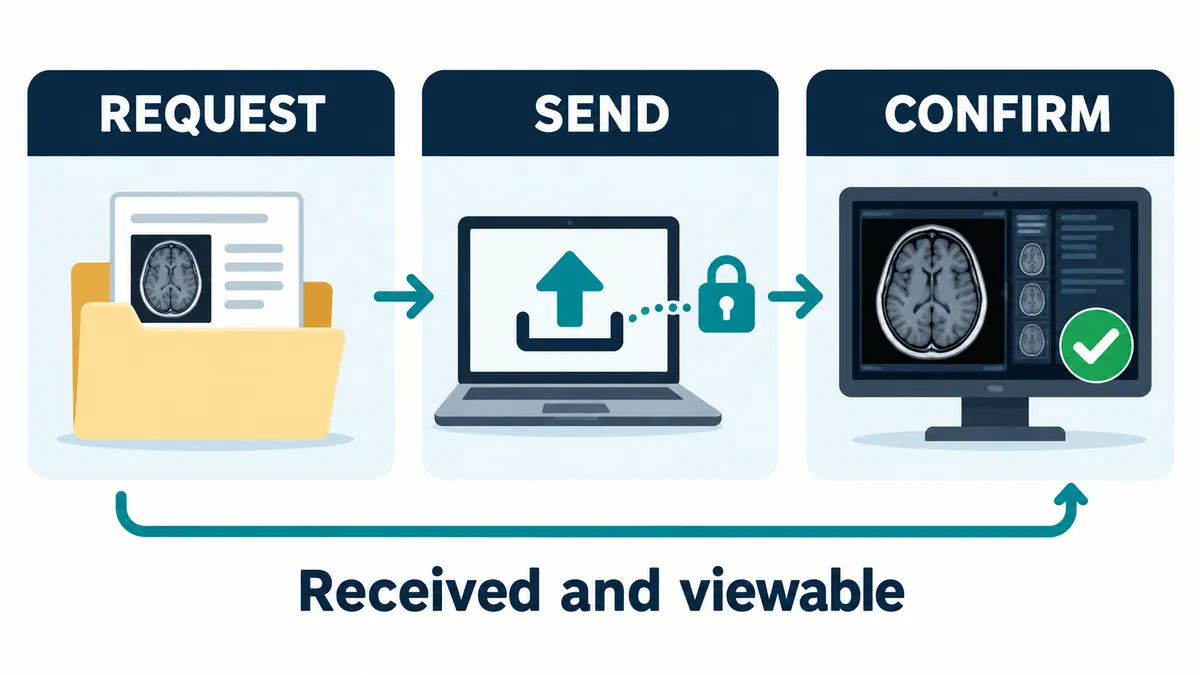
After the transfer, ask the receiving office to check the files in its own system. “We sent it” from the source facility and “we can view it” from the destination answer different questions. Request confirmation of the exam date and body area, the actual image study, and the matching report.
A useful message is: “Can your team open my [body area] MRI from [date], and is the final report attached to my visit? Is anything else needed before the appointment?” If the answer is no, ask which item failed and which office should resend it. A transfer failure by itself does not establish a medical need to repeat the scan.
7. Keep a backup and a short transfer log
Keep your own copy of the report and any image media or download supplied to you. Ask whether the clinic wants you to bring a disc or other backup; some offices have restrictions on removable media. Store records privately, keep portal passwords to yourself, and use the clinic’s approved transfer process instead of a public sharing link.
A simple private note is enough. Copy these fields for each study:
- Study: body area, side if applicable, exam date, and source facility.
- Requested: date, contact, image format, report, and expected delivery.
- Sent: date, approved transfer method, and confirmation reference.
- Received: office contact, date, and whether both images and report open.
- Still needed: missing item, responsible office, and follow-up date.
For the rest of your visit materials, use our orthopedic appointment checklist. Once the records are ready, our guide to preparing second-opinion questions can help you focus the conversation on the decision you need to make.
Quick answers before your appointment
Can I send only the MRI report?
Ask the receiving office. If the clinician needs to review the images, a written report alone will not provide them. Confirm the specific requirements before the visit.
Does sharing MRI images guarantee I will avoid another scan?
No. Having prior images available can help the team review existing information, but the clinician decides whether additional imaging is necessary for the current clinical question. Ask why any proposed repeat examination is needed.
What if the files are still missing the day before the visit?
Contact the receiving office and explain exactly what is missing. Ask whether the clinician can proceed, whether the office can coordinate the transfer, or whether the visit should be rescheduled. Do not cancel time-sensitive care on your own.
Next step: Call the receiving office and confirm its image-transfer method. Then request the study and report together, and make “received and viewable” the final entry in your log.
Sources checked October 9, 2026. This is a source-based records-preparation guide, not a test of any hospital portal or personalized medical, legal, or insurance advice. Illustrations are AI-generated and are not diagnostic images.
Targeted editorial update: October 21, 2026. Added a topic-specific follow-up record and recheck triggers, revised the title and search description, and removed unverified first-person claims or clarified selected wording where found. The existing body was retained. This update is not a complete legal, coverage or clinical review; confirm current rules and individual decisions with the relevant official source or service.